

Hey there! As a supplier of AC rolling door motors, I often get asked about how to replace the motor windings of an AC rolling door motor. It's a task that might seem daunting at first, but with the right knowledge and tools, you can handle it like a pro. In this blog, I'll walk you through the whole process step by step.
First off, let's understand why you might need to replace the motor windings. Over time, the windings in an AC rolling door motor can wear out due to factors like overheating, electrical surges, or just plain old age. When this happens, the motor might start making strange noises, run less efficiently, or even stop working altogether. Replacing the windings can bring your motor back to life and save you the cost of buying a brand - new motor.
Tools and Materials You'll Need
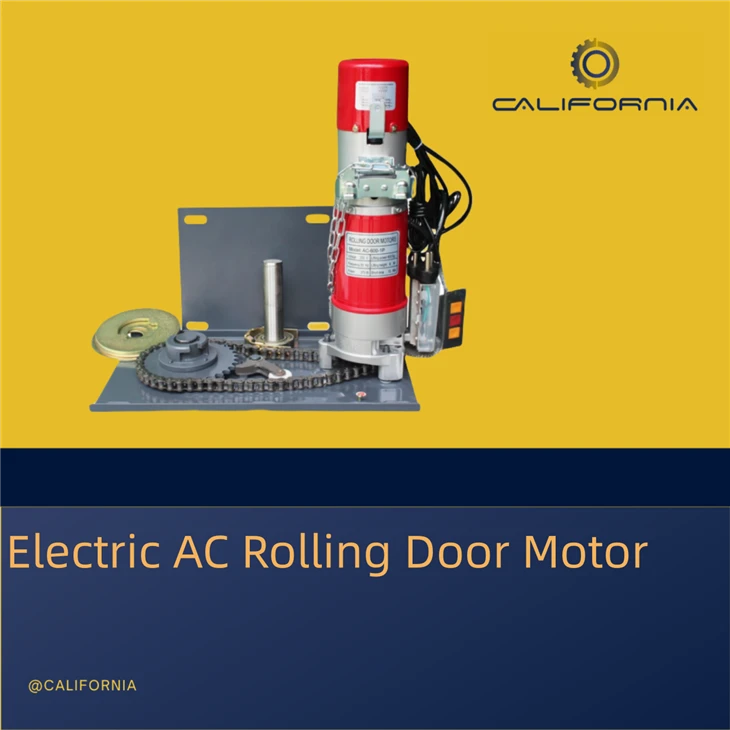
Before you start the replacement process, gather the necessary tools and materials. You'll need a set of screwdrivers (both flat - head and Phillips), a multimeter to test the electrical connections, wire cutters and strippers, a soldering iron and solder, and of course, the new motor windings that are compatible with your AC rolling door motor. You can find a variety of AC rolling door motors and related parts on our website, including the Electric Roller Garage Door Opener, Single Phase Roller Shutter Motor, and Motorized Rolling Door.

Safety First
Safety is crucial when working with electrical components. Make sure to turn off the power supply to the rolling door motor before you start. You can do this by switching off the circuit breaker or unplugging the motor if it's a plug - in type. Also, wear safety goggles and gloves to protect yourself from any potential hazards.
Step 1: Remove the Motor
The first step is to remove the AC rolling door motor from the door mechanism. Start by removing the cover of the motor housing using the appropriate screwdriver. Once the cover is off, you'll be able to see the internal components of the motor. Look for the mounting bolts or screws that hold the motor in place and remove them. Carefully lift the motor out of the housing and place it on a clean, flat surface.
Step 2: Inspect the Old Windings
Before you install the new windings, take a close look at the old ones. Use the multimeter to check for continuity in the windings. If there's no continuity, it's a clear sign that the windings are damaged and need to be replaced. Also, look for any signs of burning, fraying, or other physical damage.
Step 3: Remove the Old Windings
To remove the old windings, you'll need to carefully cut the wires that connect them to the motor's terminals. Use the wire cutters to snip the wires close to the terminals. Be careful not to damage the terminals themselves. Once the wires are cut, you can start unwinding the old windings from the motor core. This might take some time and patience, especially if the windings are tightly wound.
Step 4: Install the New Windings
Now it's time to install the new windings. Start by winding the new wire around the motor core in the same pattern as the old windings. Make sure to leave enough length at the ends of the wires to connect them to the terminals. Once the winding is complete, use the wire strippers to remove the insulation from the ends of the wires.
Step 5: Connect the New Windings
Connect the new windings to the motor's terminals. You can use the soldering iron and solder to make a secure connection. Make sure the connections are clean and free of any debris. After soldering, use the multimeter to test the continuity of the new windings to ensure they're working properly.
Step 6: Reassemble the Motor
Once the new windings are installed and connected, it's time to reassemble the motor. Place the motor back into the housing and secure it with the mounting bolts or screws. Put the cover back on the motor housing and tighten the screws.
Step 7: Test the Motor
Before you reinstall the motor on the rolling door, it's important to test it. Reconnect the power supply and turn on the motor. Listen for any unusual noises and check if the motor runs smoothly. If everything seems to be working fine, you can reinstall the motor on the rolling door mechanism.
Troubleshooting
If the motor doesn't run after the replacement, there could be a few issues. Check the connections again to make sure they're secure. Also, double - check the continuity of the windings using the multimeter. If you're still having problems, it might be a good idea to consult a professional electrician.
In conclusion, replacing the motor windings of an AC rolling door motor is a challenging but achievable task. By following these steps and taking the necessary safety precautions, you can save money and extend the life of your motor. If you have any questions or need help with finding the right parts for your AC rolling door motor, don't hesitate to reach out to us. We're here to assist you with all your rolling door motor needs. Whether you're looking for a Single Phase Roller Shutter Motor or a Motorized Rolling Door, we've got you covered.
If you're interested in purchasing high - quality AC rolling door motors or related parts, we'd love to have a chat with you. Just get in touch, and we can discuss your specific requirements and help you find the best solutions for your needs.
References
- Electrical Motor Repair Handbook
- AC Motor Troubleshooting Guide