

Installing a tubular blind motor on a conservatory window can significantly enhance the functionality and aesthetic appeal of your space. As a reputable tubular blind motor supplier, I'm here to guide you through the process step by step.
Understanding Tubular Blind Motors
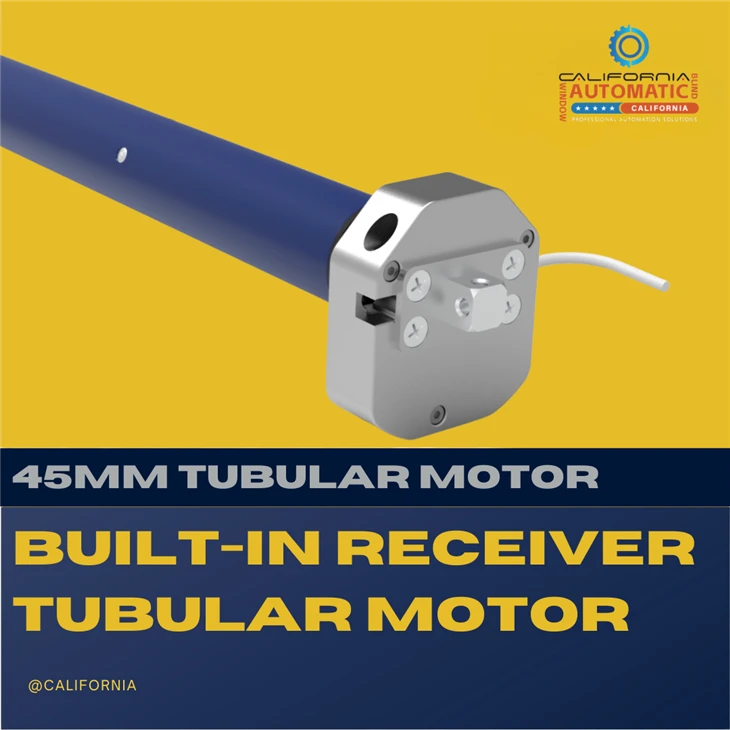
Before diving into the installation process, it's essential to understand what tubular blind motors are and their benefits. Tubular blind motors are compact, efficient devices designed to automate the operation of blinds. They come in various types, including Tubular Motor for Awning, which is specifically designed for awnings, and Remote Control Awning Motor, which allows you to control your blinds with a remote. The Tubular Motor Dm45m 50 is another popular option known for its reliability and performance.
These motors offer several advantages, such as convenience, energy efficiency, and improved privacy. With a tubular blind motor, you can easily adjust your blinds to control the amount of sunlight entering your conservatory, reducing the need for artificial lighting and cooling. Additionally, they provide a sleek and modern look to your windows, enhancing the overall aesthetic of your space.
Tools and Materials Needed
To install a tubular blind motor on your conservatory window, you'll need the following tools and materials:
- Tubular blind motor
- Mounting brackets
- Screwdriver
- Drill
- Measuring tape
- Level
- Electrical wiring (if required)
- Remote control (if applicable)
Step-by-Step Installation Guide
Step 1: Measure the Window
Start by measuring the width and height of your conservatory window. This will help you determine the appropriate size of the tubular blind motor and mounting brackets. Make sure to measure accurately to ensure a proper fit.

Step 2: Choose the Mounting Location
Next, decide where you want to mount the tubular blind motor. The most common locations are above the window frame or on the side of the window. Consider factors such as accessibility, visibility, and the type of blind you're using when choosing the mounting location.
Step 3: Install the Mounting Brackets
Once you've chosen the mounting location, use a drill to attach the mounting brackets to the window frame or wall. Make sure the brackets are level and securely fastened. Use a level to ensure the brackets are straight and aligned properly.
Step 4: Attach the Tubular Blind Motor
Carefully place the tubular blind motor into the mounting brackets. Make sure the motor is centered and aligned with the brackets. Use the provided screws to secure the motor to the brackets.
Step 5: Connect the Electrical Wiring (if required)
If your tubular blind motor requires electrical wiring, follow the manufacturer's instructions to connect the wiring. Make sure to turn off the power supply before making any electrical connections to avoid the risk of electric shock. If you're not comfortable working with electrical wiring, it's recommended to hire a professional electrician.
Step 6: Install the Blind
Once the motor is installed and the wiring is connected, it's time to install the blind. Follow the manufacturer's instructions to attach the blind to the tubular blind motor. Make sure the blind is properly aligned and tensioned.
Step 7: Test the Motor
After installing the blind, test the motor to make sure it's working properly. Use the remote control (if applicable) to open and close the blind. If the motor doesn't work, check the wiring connections and make sure the power supply is turned on.
Troubleshooting Tips
If you encounter any issues during the installation process or after the motor is installed, here are some troubleshooting tips:
- Motor not working: Check the electrical connections and make sure the power supply is turned on. If the motor still doesn't work, contact the manufacturer for further assistance.
- Blind not opening or closing properly: Check the alignment of the blind and make sure it's properly tensioned. If the problem persists, adjust the motor settings or contact the manufacturer for help.
- Remote control not working: Check the batteries in the remote control and make sure it's properly paired with the motor. If the remote control still doesn't work, contact the manufacturer for a replacement.
Maintenance and Care
To ensure the longevity and optimal performance of your tubular blind motor, it's important to perform regular maintenance and care. Here are some tips:
- Clean the motor and blind regularly: Use a soft, dry cloth to clean the motor and blind. Avoid using abrasive cleaners or solvents, as they can damage the motor and blind.
- Lubricate the moving parts: Periodically lubricate the moving parts of the motor, such as the gears and bearings, to reduce friction and wear. Use a lubricant recommended by the manufacturer.
- Check the wiring connections: Regularly inspect the wiring connections to make sure they're secure and free of damage. If you notice any loose or damaged connections, contact the manufacturer for assistance.
Conclusion
Installing a tubular blind motor on your conservatory window is a relatively simple process that can provide numerous benefits. By following the step-by-step guide outlined in this blog post, you can easily install a tubular blind motor and enjoy the convenience, energy efficiency, and improved privacy it offers.
If you're interested in purchasing a tubular blind motor or have any questions about the installation process, please don't hesitate to contact us. We're a leading tubular blind motor supplier and can provide you with high-quality products and expert advice. Let's discuss your specific needs and find the perfect solution for your conservatory window.
References
- Manufacturer's installation guides for tubular blind motors
- Home improvement websites and forums for additional tips and advice